Amazon Product Photography With Phone
In category: Amazon
Mastering Amazon Product Photography with Your Smartphone
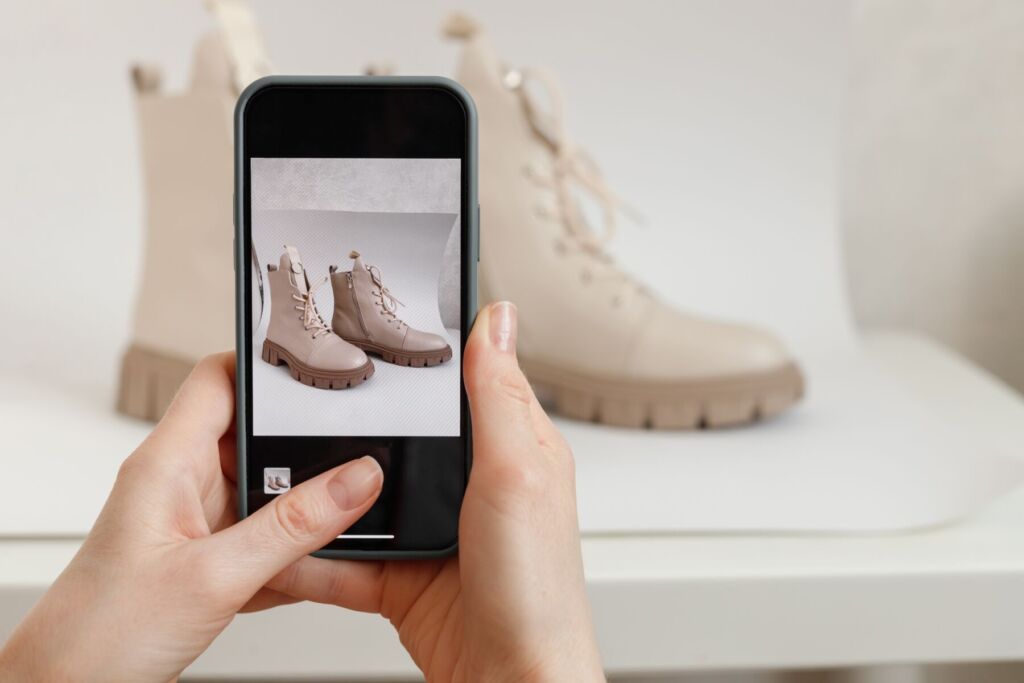
In the competitive world of e-commerce, especially on Amazon, high-quality product images are essential for attracting customers and driving sales. Fortunately, you don’t need a professional camera or a big budget to achieve this. With the advanced technology available in modern smartphones, you can take stunning product photos that stand out. Here’s an in-depth guide to mastering Amazon product photography using your smartphone.
Why High-Quality Photos Matter
When shopping online, the first thing customers notice is the product image. A study by Weebly found that over 75% of online shoppers consider product photos highly influential in their purchasing decisions. High-quality images can significantly enhance your product’s appeal, provide an accurate representation, and ultimately increase your sales. Poor-quality images, on the other hand, can drive potential buyers away.

Preparing for the Shoot
Equipment and Setup
Smartphone Camera Settings:
Ensure your smartphone camera is set to the highest resolution. Most modern smartphones come with cameras that offer 12 megapixels or more, which is sufficient for high-quality product photography.
Tripod: Stability is key to sharp images. Using a tripod prevents camera shake and helps maintain consistent framing.
Lighting: Good lighting is crucial. Natural daylight is often the best option, but you can also use affordable photography lights or a lightbox to achieve even lighting without harsh shadows.
Clean Lens: Before you start, make sure your camera lens is clean. Dust, fingerprints, and smudges can affect image quality, resulting in blurry or hazy photos.
Setting Up Your Studio
Creating a dedicated space for your product photography can streamline the process and improve results:
Background: A plain white background is ideal for Amazon product photos. It helps the product stand out and meets Amazon’s requirements for the main product image. You can use a large piece of white paper, a bedsheet, or a professional backdrop.
Reflectors and Bounce Boards: These tools help control shadows and distribute light evenly across the product. Reflectors can bounce natural light onto the product, while bounce boards can help fill in shadows.
Shooting Techniques
Finding the Best Angles
Experiment with different angles to find the most flattering perspective for your product. Here are some common angles to consider:
Eye Level: This angle works well for products that are best viewed from a straight-on perspective, like electronics or books.
Flat Lay: Ideal for smaller items or products with multiple components. This involves shooting from directly above the product laid out on a flat surface.
45-Degree Angle: Provides depth and dimension, making the product look more dynamic.
Take multiple shots from various angles to give customers a comprehensive view of the product. This helps them understand the product better and reduces the likelihood of returns.
Composition and Framing
Rule of Thirds: Use the grid feature on your smartphone camera to apply the rule of thirds. This involves placing the product off-center to create a more balanced and interesting composition.
Fill the Frame: Ensure the product occupies most of the frame, leaving minimal empty space around it. This focuses attention on the product and meets Amazon’s requirement that the product should fill at least 85% of the frame.
Depth of Field: Create a blurred background effect by adjusting the aperture (if your smartphone camera allows). This makes the product stand out sharply against a softly blurred background.
Lifestyle Shots
Lifestyle images show the product in use and help customers visualize how it fits into their lives. These photos can evoke an emotional response and provide context, making the product more appealing. For example, if you’re selling kitchenware, show it in a cooking scenario.
Packaging Shots
Including images of the product in its original packaging can build trust and set clear expectations for the customer. It assures them of what to expect upon delivery and adds to the product’s perceived value.
Advanced Camera Settings
Manual Controls
Most smartphones offer some manual controls over camera settings, allowing you to fine-tune your shots:
Focus: Tap the screen to manually select the focus area. This ensures the product is sharp and detailed.
Exposure: Adjust the exposure to control the amount of light in your photos. Proper exposure prevents your images from being too dark or overly bright.
White Balance: Adjusting the white balance ensures colors appear natural and true to life. This is especially important for accurately depicting product colors.
Exposure Triangle
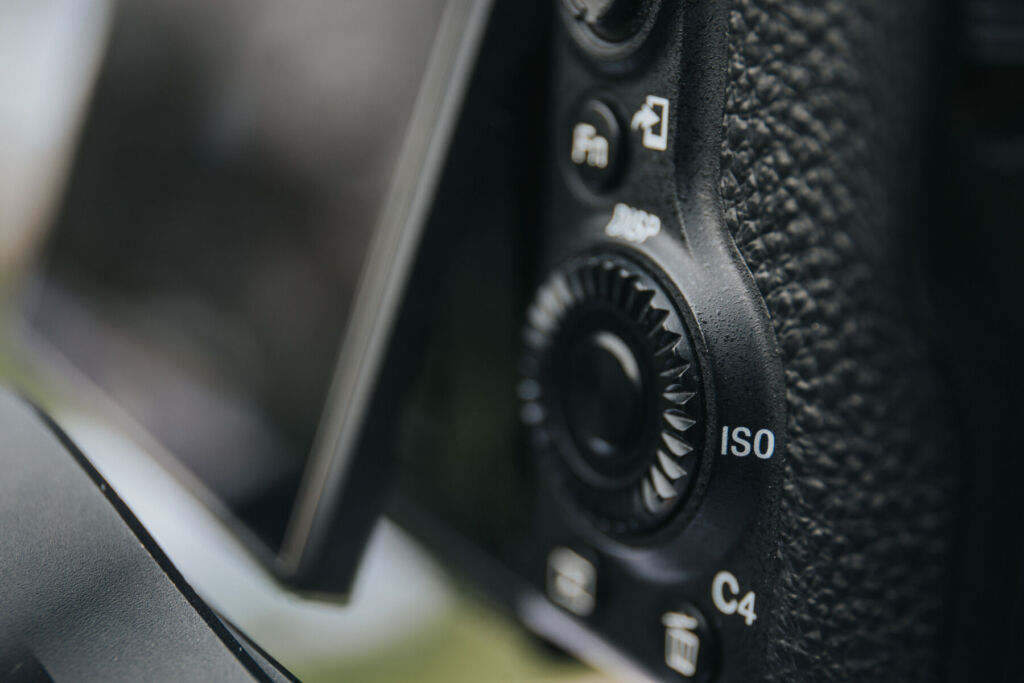
Understanding the exposure triangle – aperture, ISO, and shutter speed – can significantly improve your photography skills:
Aperture: Controls the depth of field. A wider aperture (lower f-number) creates a shallow depth of field, blurring the background and making the product stand out.
ISO: Adjusts the camera’s sensitivity to light. Higher ISO settings can brighten an image but may introduce noise. Keep ISO as low as possible for clear, sharp photos.
Shutter Speed: Determines how long the camera’s sensor is exposed to light. Faster shutter speeds reduce blur from movement, while slower speeds can capture more light in low-light conditions.
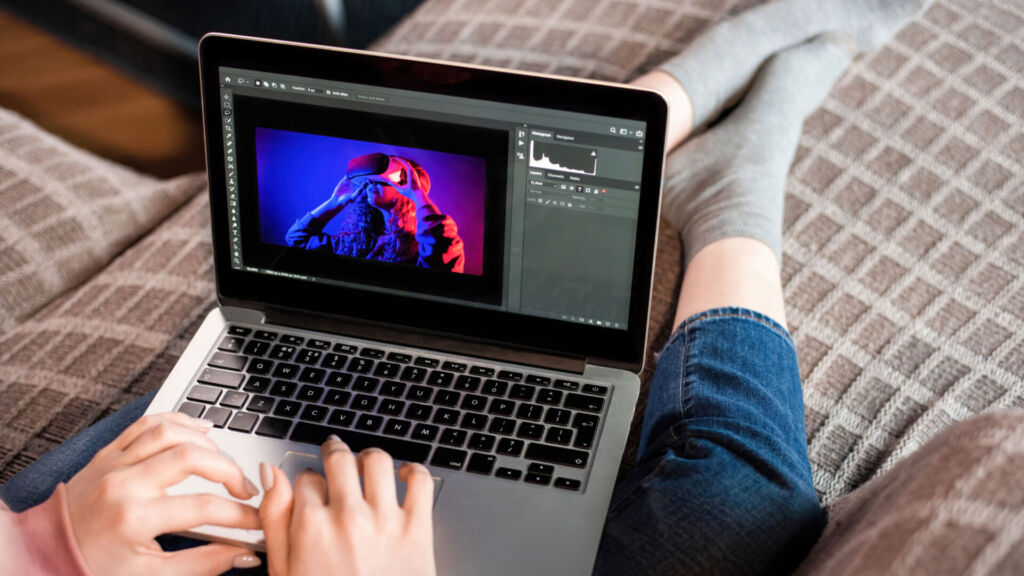
Post-Processing
Editing your photos is a crucial step to achieving professional-quality images. Here are some recommended apps and techniques:
Recommended Apps
Adobe Photoshop Express
Canva
VSCO
Snapseed
Lightroom for Mobile
Editing Techniques
White Balance: Adjust to ensure the whites in your photo are true white, which helps all other colors appear natural.
Exposure and Contrast: Fine-tune these settings to ensure the product is well-lit and stands out against the background.
Saturation: Increase slightly to make the colors pop, but avoid over-saturation, which can make the photo look unrealistic.
Cropping and Straightening: Ensure your product is centered and the lines are straight. This makes the image look more professional and tidy.
Background Removal: Use tools like PixelPro.Ai to remove the background and achieve a clean, white background that meets Amazon’s requirements. In some cases it does not work. Ai is not that advanced 🙂
When to Outsource?
If you find the process overwhelming or if your photos aren’t meeting your expectations, consider hiring a professional photographer or an image editing service. While this requires an investment, the return can be substantial as high-quality images often lead to higher sales and reduced return rates.
Conclusion
Mastering product photography with your smartphone is entirely possible with the right techniques and tools. By investing time in learning your smartphone’s capabilities, setting up a proper photography environment, and using advanced editing tools, you can create stunning product images that attract and convert customers. Whether you’re starting out or looking to improve your existing photos, these tips will help you create images that make your products shine on Amazon.
By following this comprehensive guide, you can transform your smartphone into a powerful tool for product photography, ensuring your Amazon listings stand out in a crowded marketplace.
